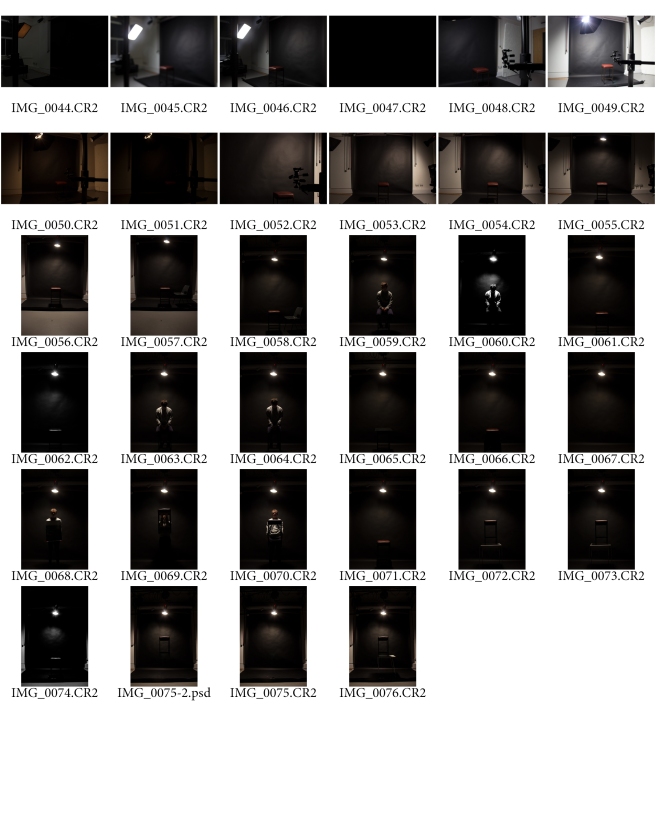
Equipment:
- Canon 600D
- Tripod
- Model
- Black Backdrop
- Adobe Photoshop
- Standard Light
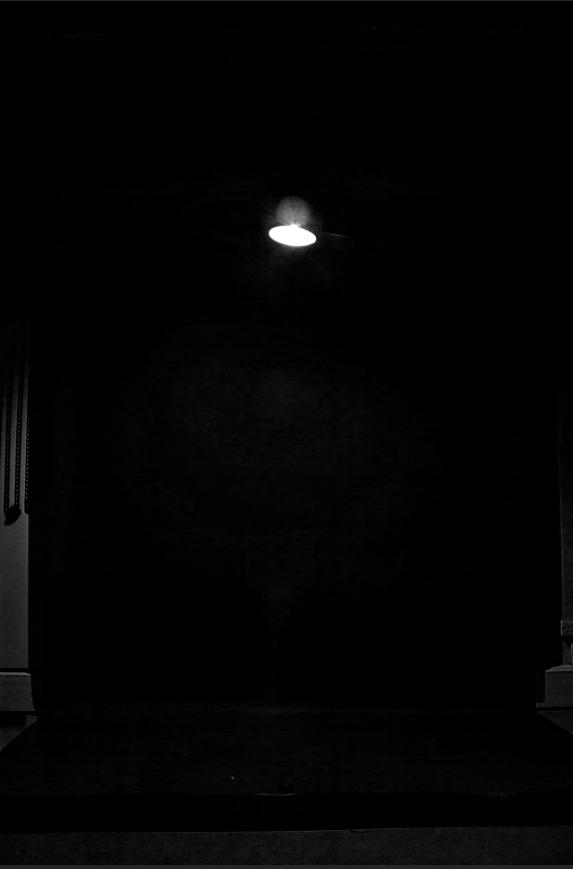
Step 1-Camera and lighting setting
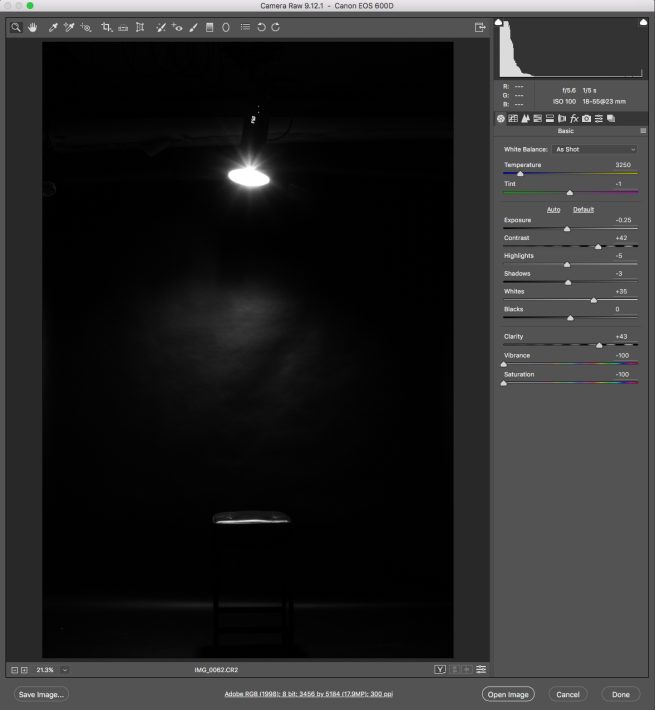
The lighting set up is very simple. I had a single standard light directly above my subject, the light generated was enough to light my subject but also create a spot light on the backdrop. My camera settings I adjusted so that my image was well exposed and in focused. My camera settings were; ISO 100 for quality and detail, Aperture f’4.5 for shallow depth of field and for exposure and my shutter speed was 1/25, this was enough for the light to hit the cameras sensor and expose the image.
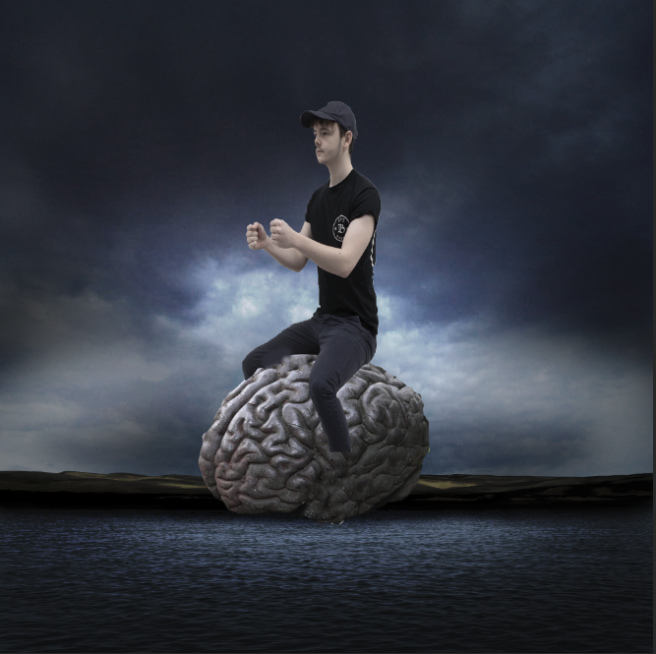
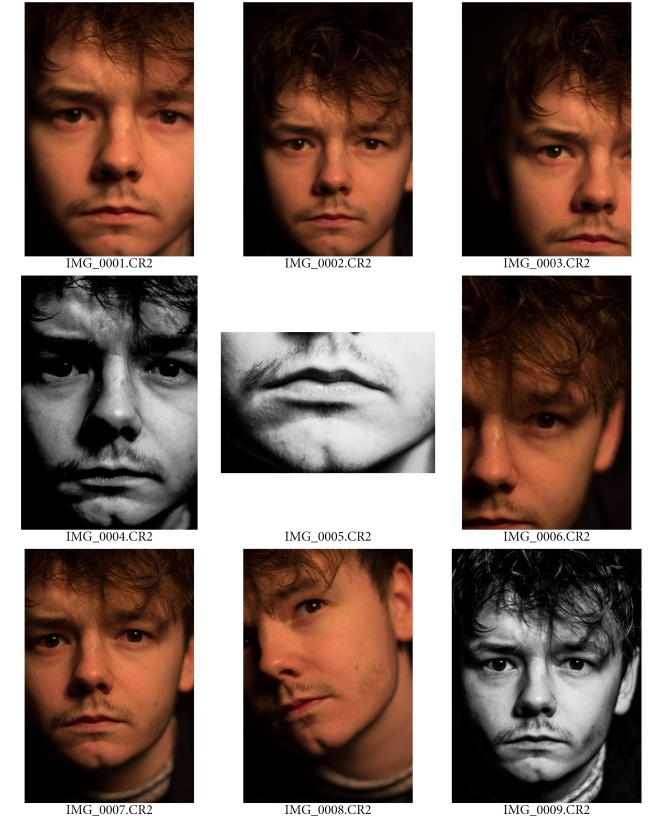
Step 2- Mood and Model direction
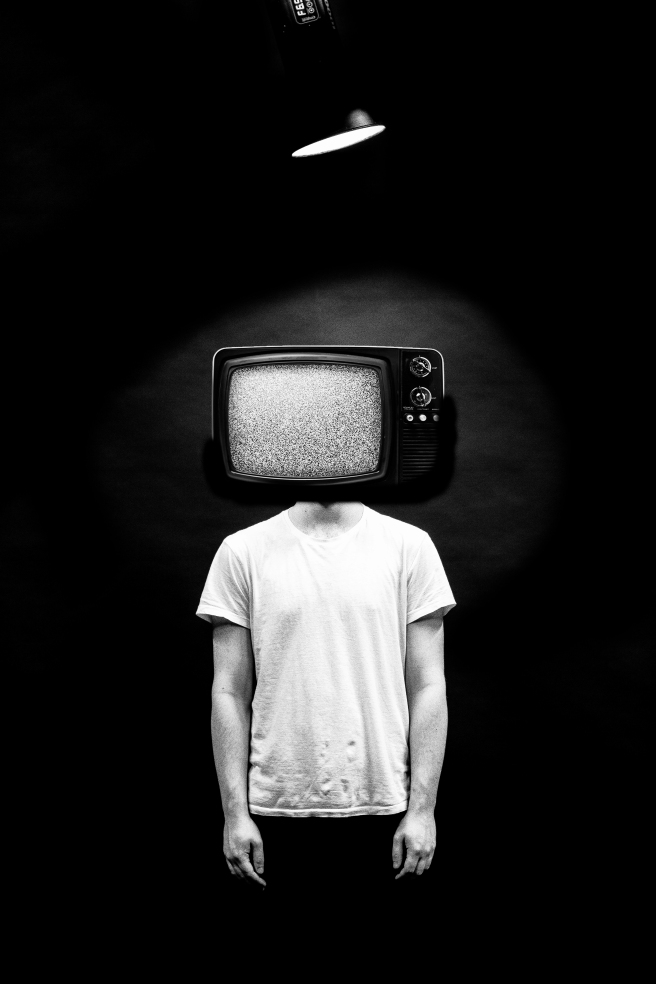
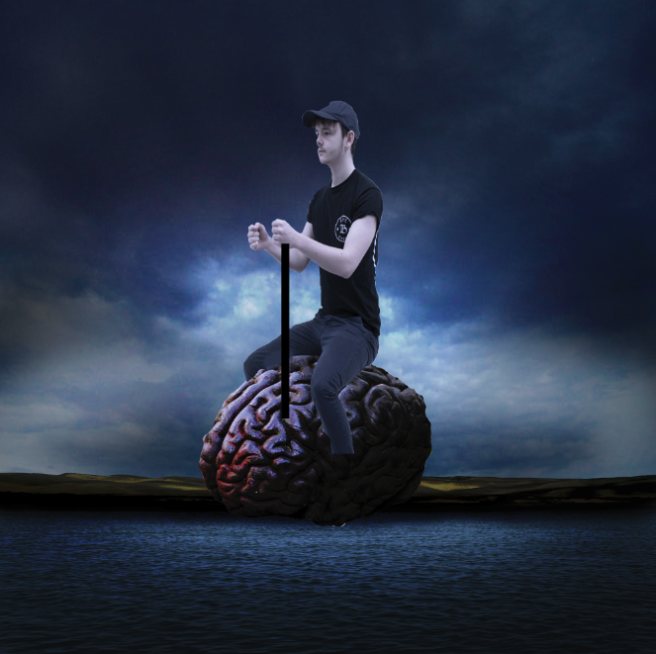
The mood for my photograph was in the same style as my previous surrealism shoots, I wanted to keep to this style because of the mini series I was creating in my surrealism in the studio. My model direction was for subject to be completely still and stood up straight I didn’t want my subjects body being the main focus of this shoot instead It would be the television on the subjects head, with this it meant that my subject didn’t need to express any emotion in my shoot as his head wouldn’t be in the final photograph.

Step 3-Editing


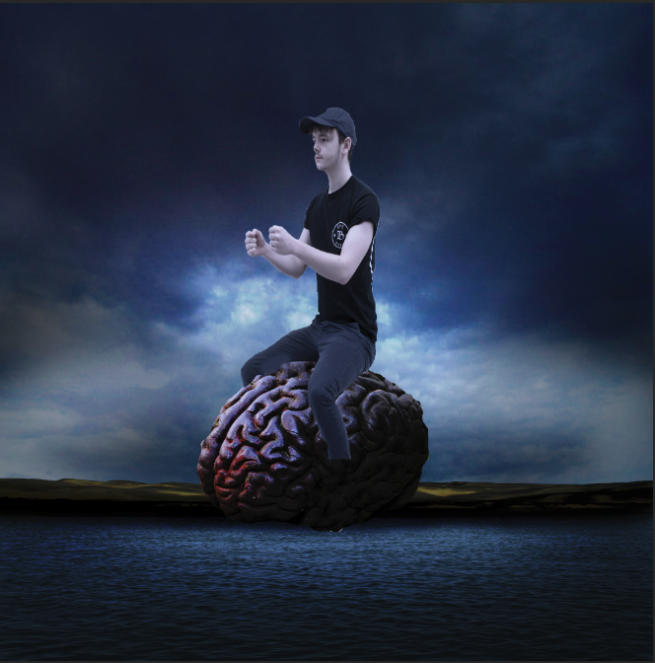
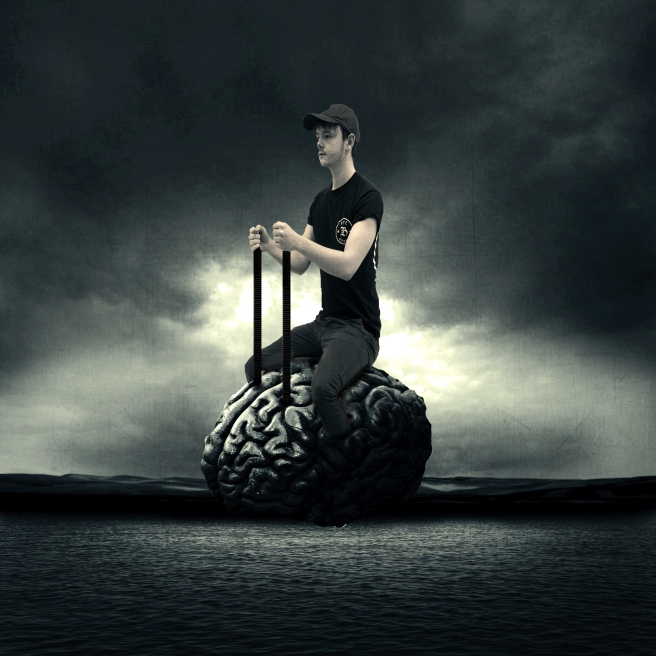
My editing was to create the black and white effect that Ive had in my previous shoots, to so this I decreased the vibrance and Saturation to have the image as a black and white. I then Increased the contrasted and the clarity to really enhance the black and white, I added more detail in the image so that it creates a more realism for the viewer and more quality to the image.
To create the effect of the tv on the head, I used a found image of a television and dragged the image on to the image of my model. I had to edit the television with the same edit as the model image so that it would look like the television was photographed on the same shoot. I then placed the television over my models head to create the effect of surrealism.
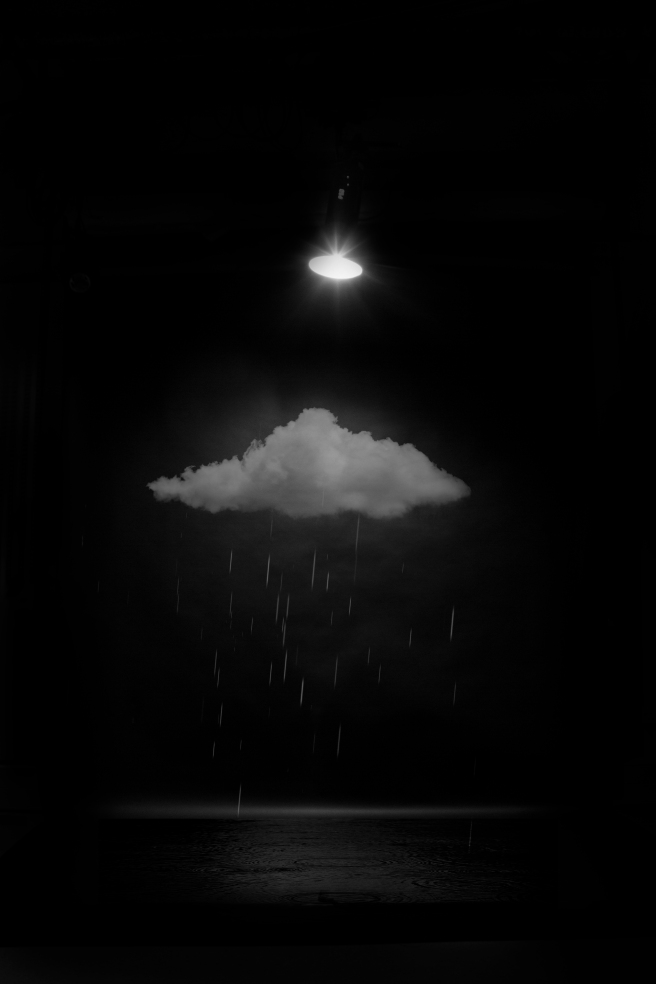
Final Image